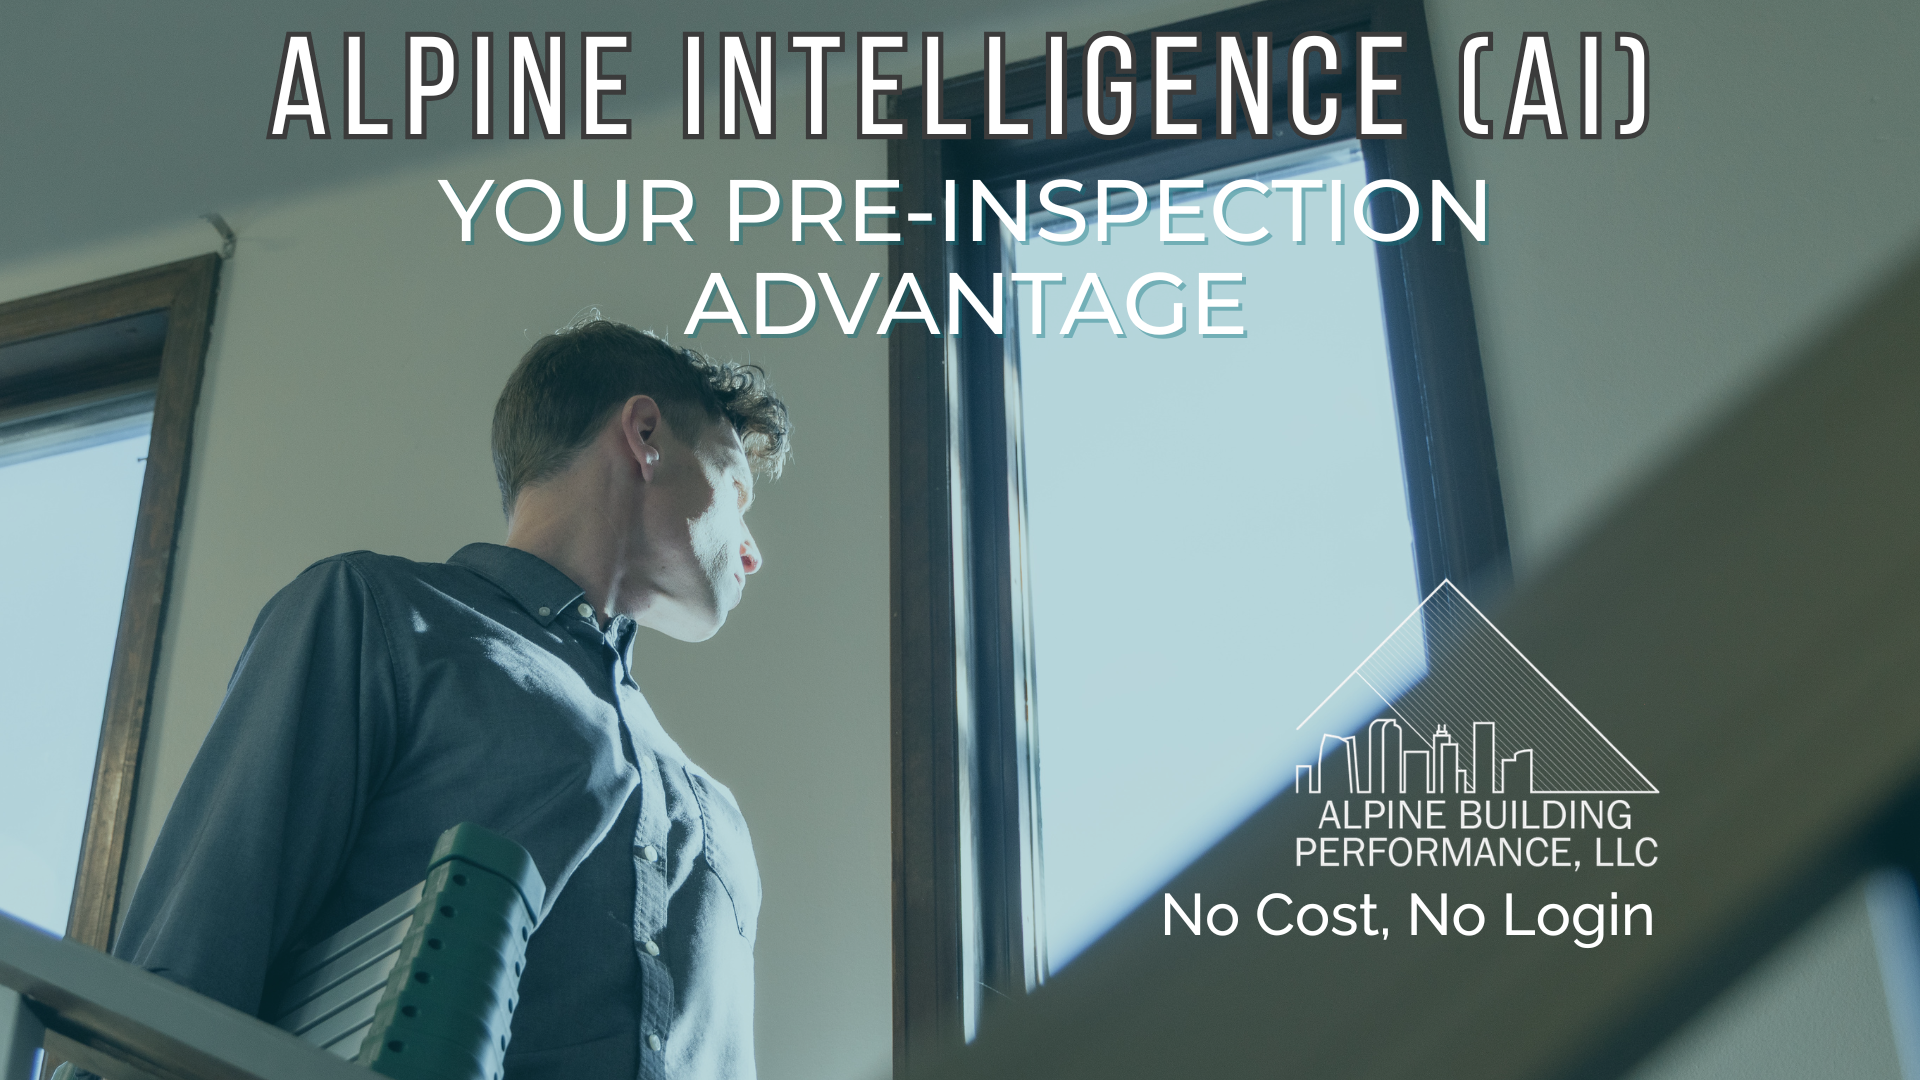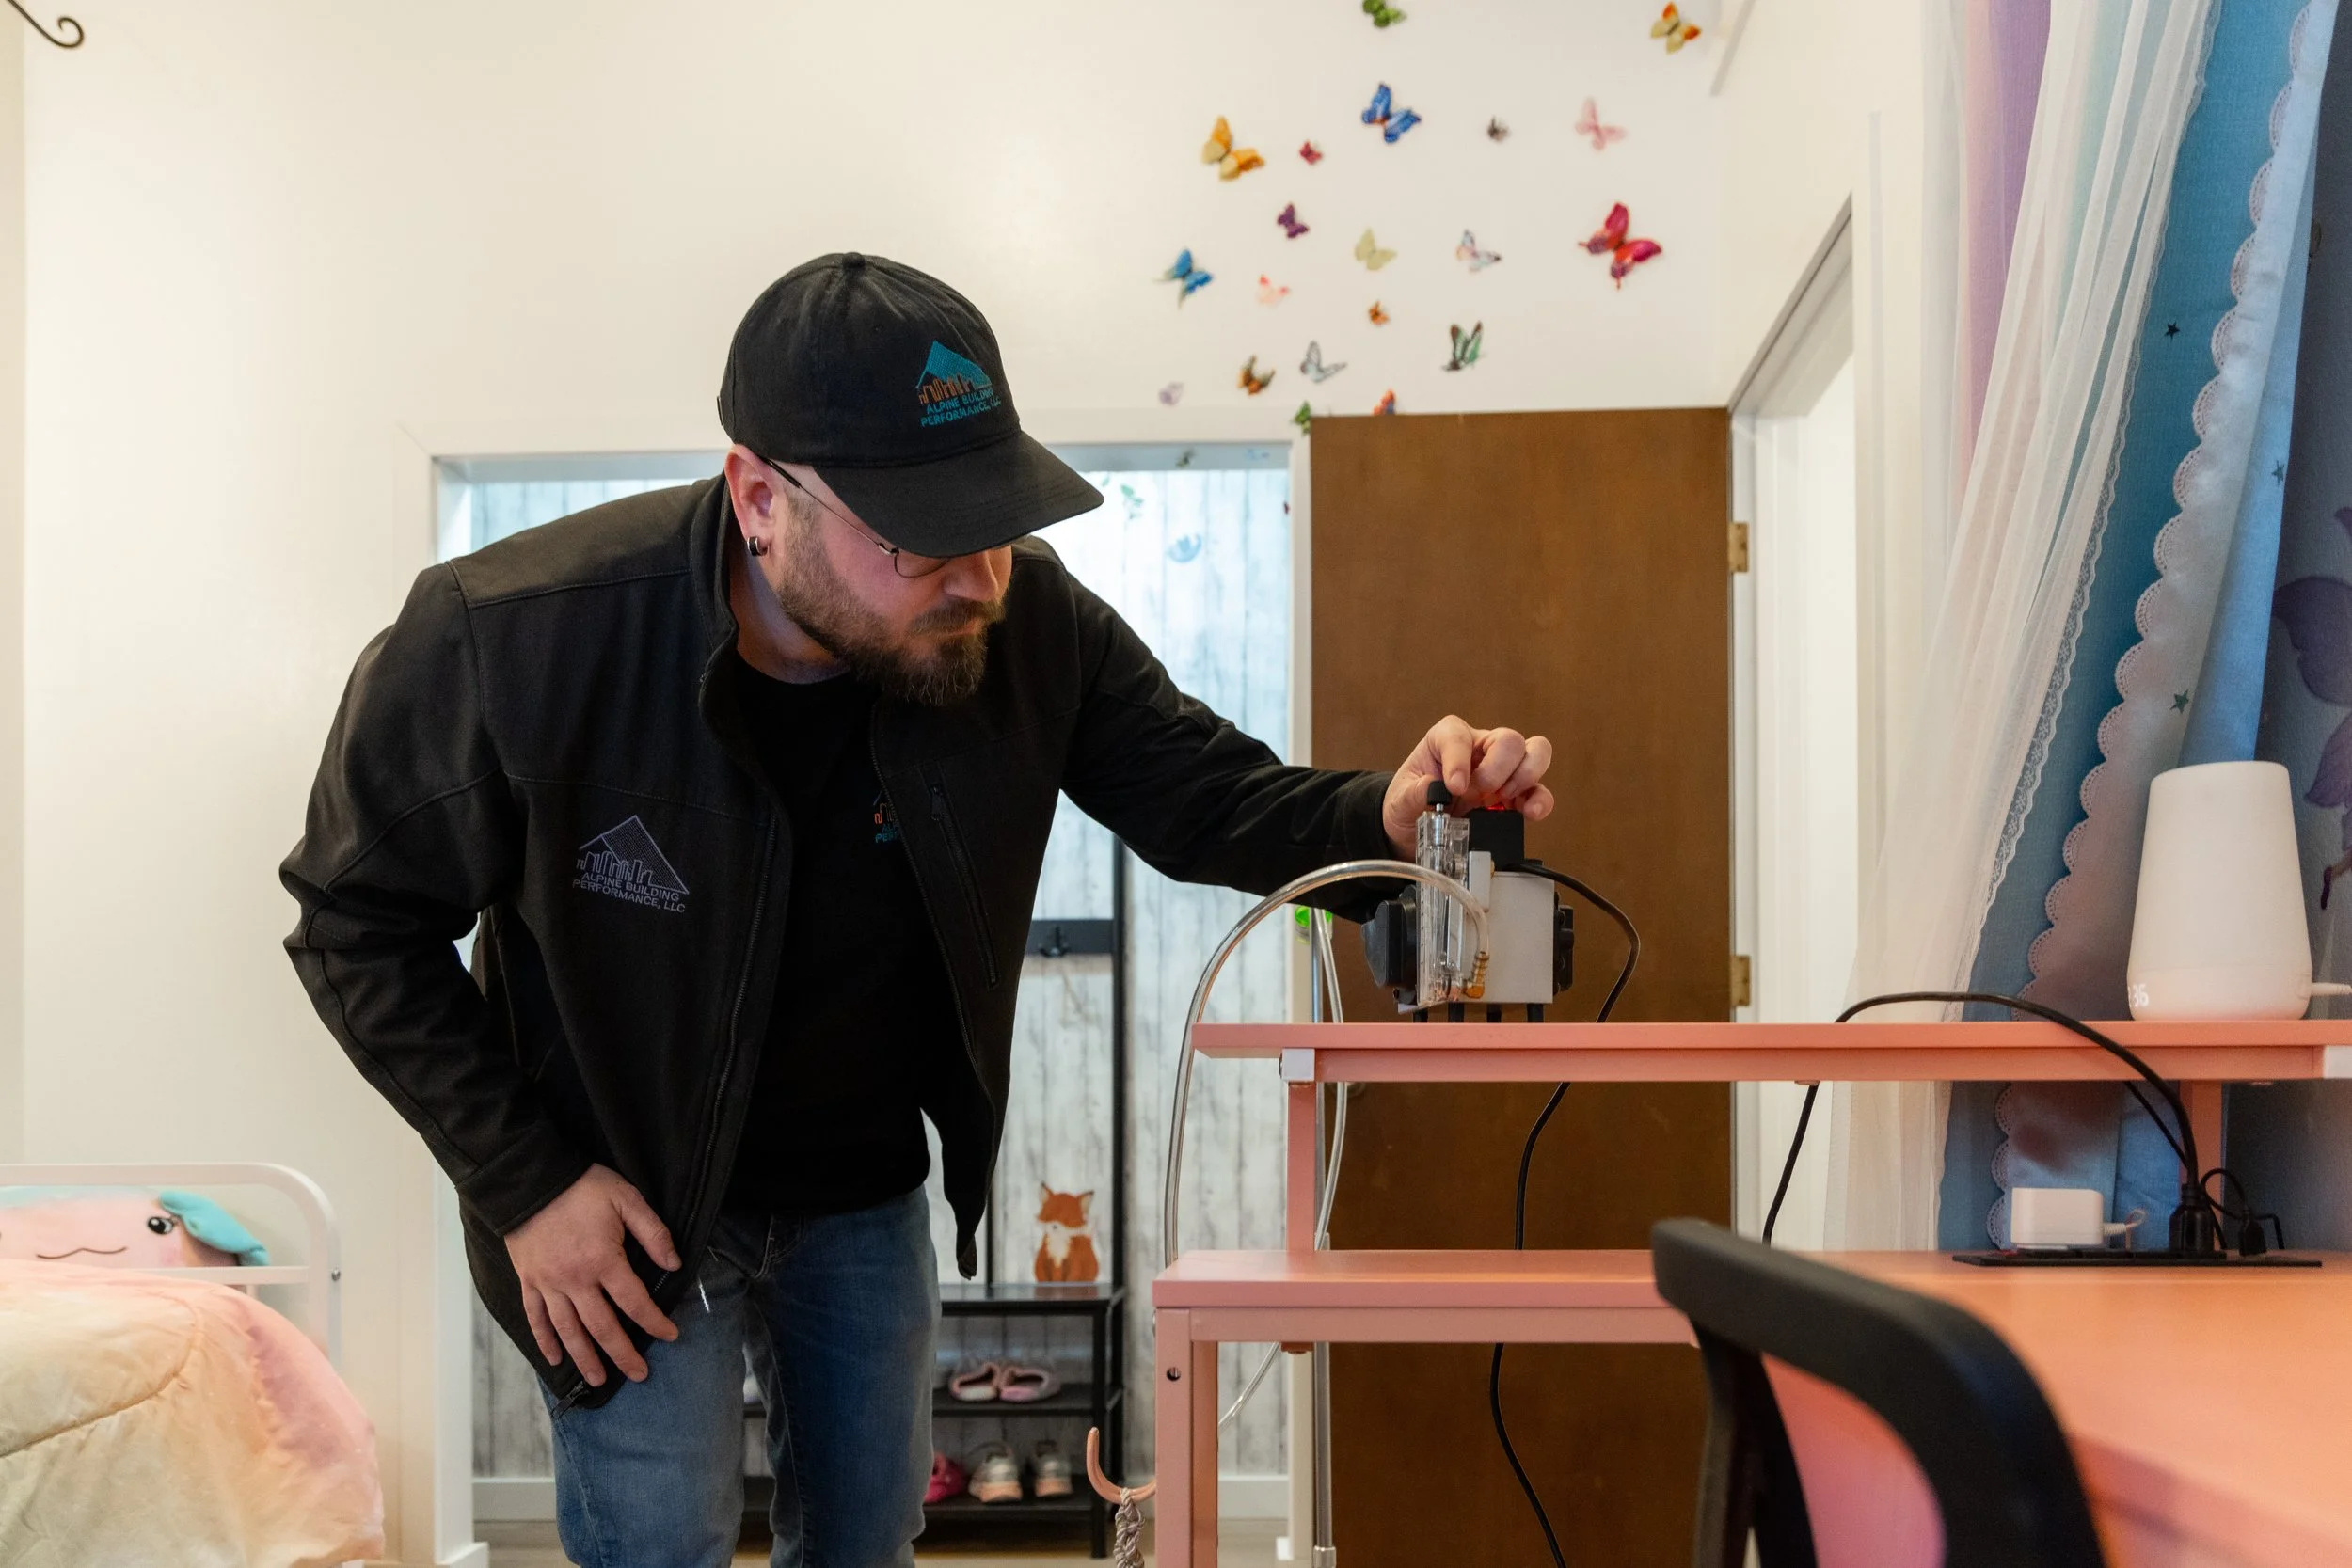
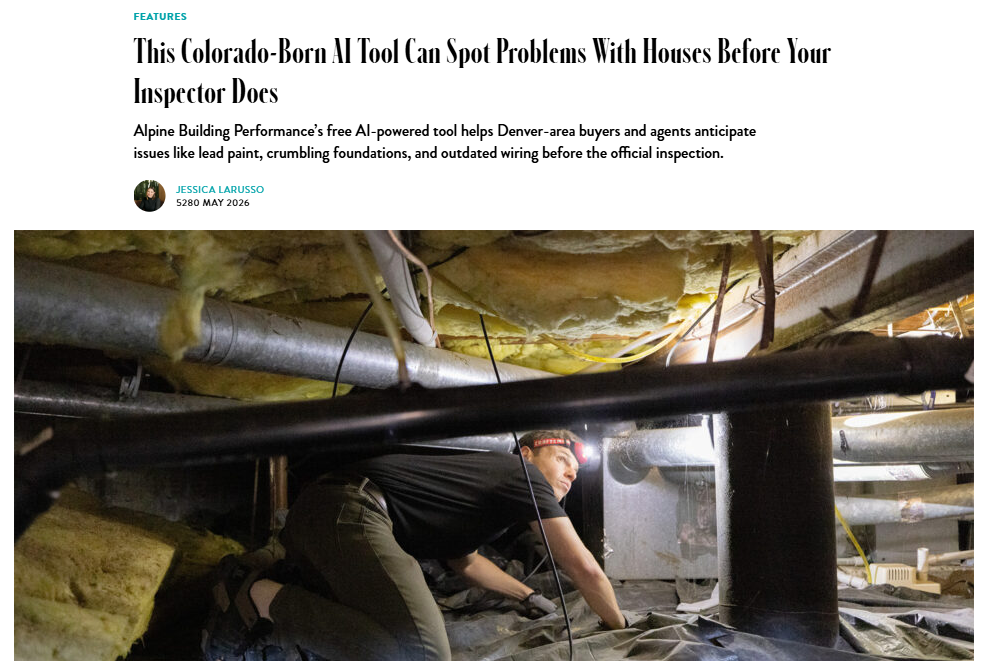
We're excited to share that Alpine Building Performance was recently featured in 5280 Magazine for our innovative AI-powered Inspection Forecaster, Alpine Intelligence.

ABP | BLOG
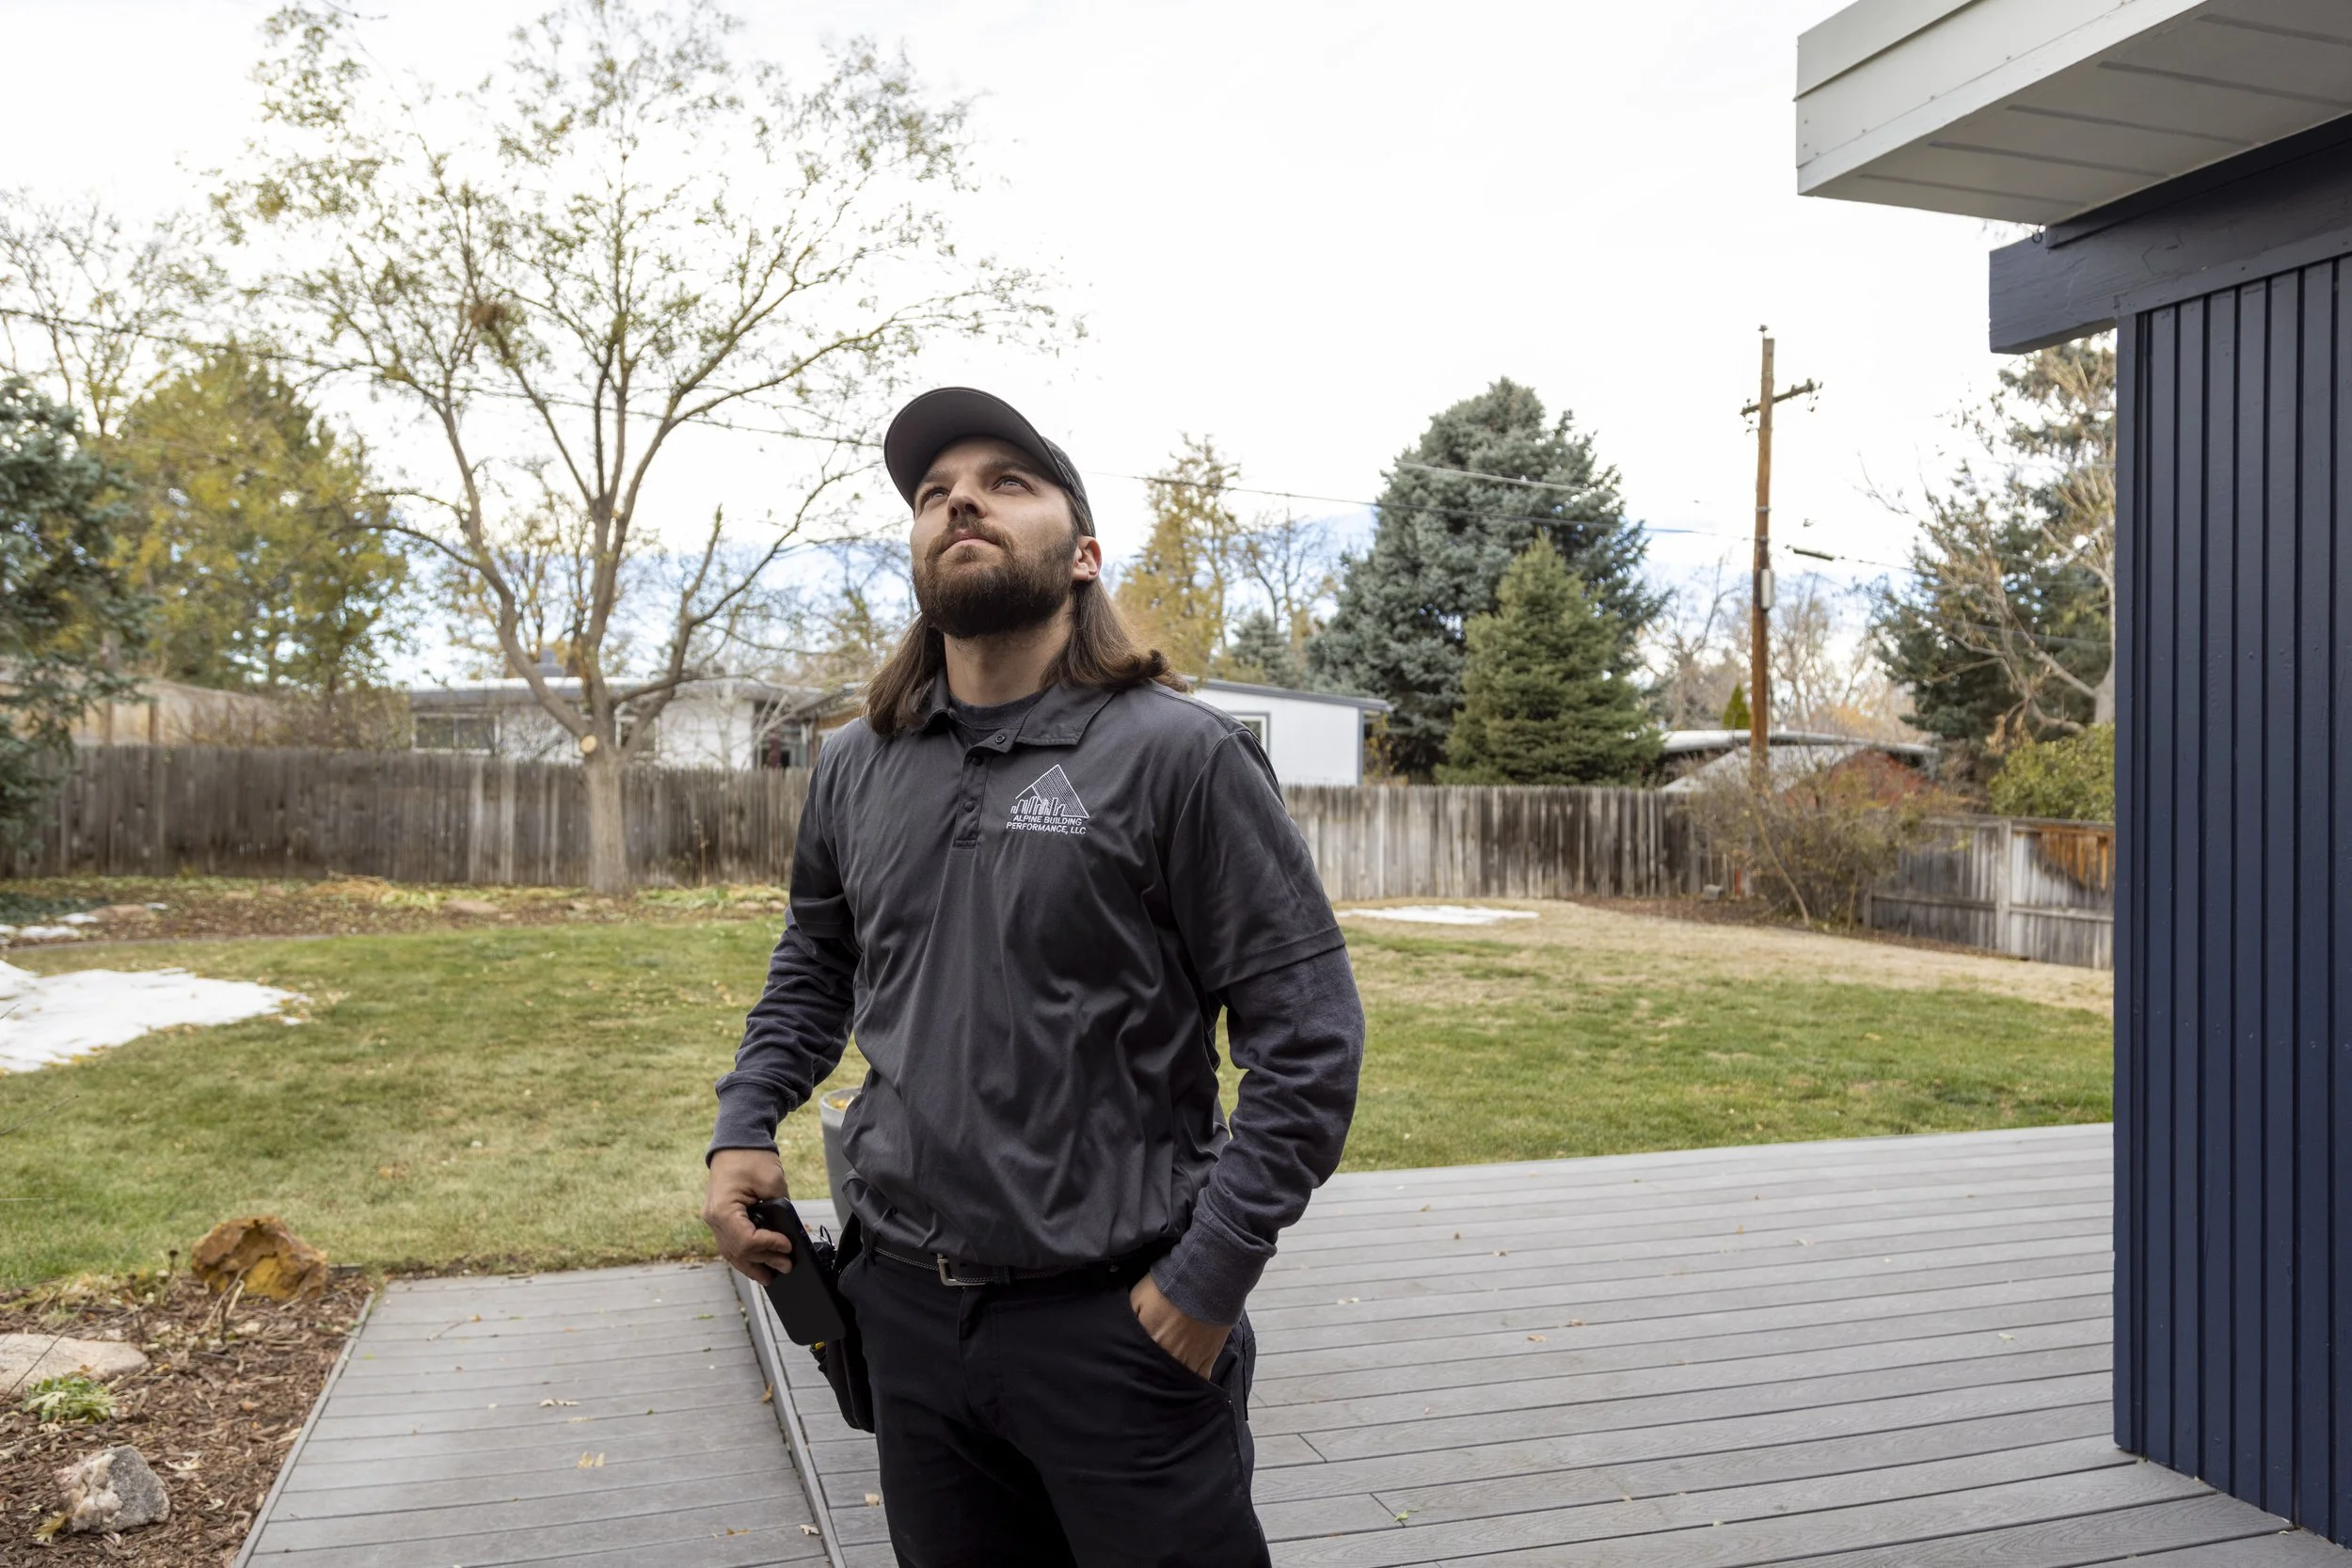
March 24, 2026 - Great Day Colorado had Alpine Building Performance owner, Andrew Sams out to discuss three things that you need to pay attention to on your home to prevent winter damage (cleaning gutters and downspouts, paying attention to grading and drainage and checking roof condition). See the video from Great Day Colorado.
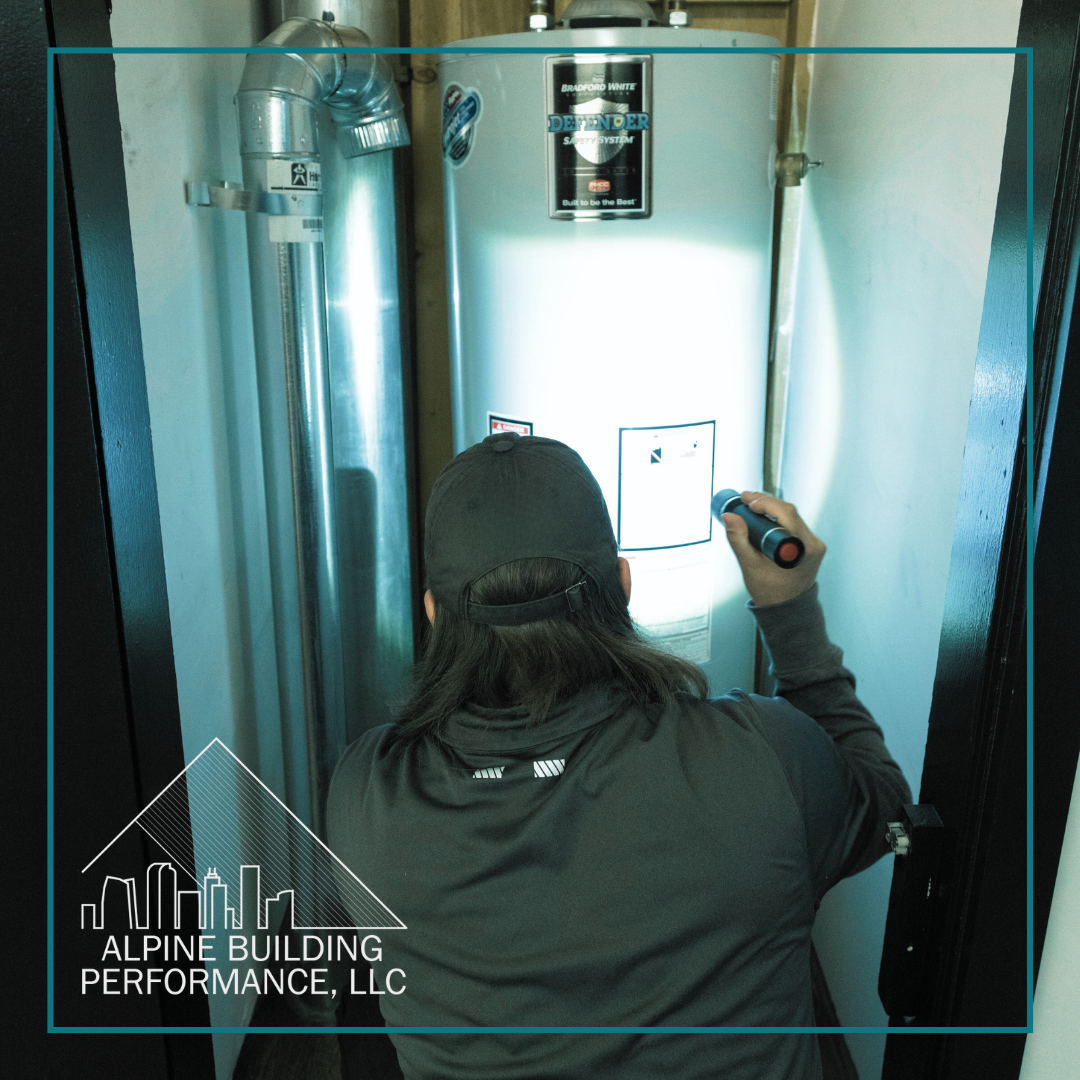
Last month we discussed the new ultra low emissions law in Colorado that requires all new water heaters and furnaces installed in Colorado after 2026 to be low emissions or ultra low NOx. While this law is meant to address emissions on a larger scale, the greatest threat that combustion emissions have to you directly, is from your gas range/oven.
Here’s why:
Every time you cook with a gas range, it produces nitrogen dioxide, carbon monoxide, and other combustion byproducts directly inside your home. Unlike your furnace or water heater, which vent exhaust to the exterior, your gas range releases those pollutants into your living space.
Without proper ventilation, these contaminants can accumulate and impact indoor air quality. Short term exposure can cause headaches, irritation, or respiratory discomfort. Long term exposure has been linked to increased asthma risk, especially in children.
Here’s what you can do:
Use a vent hood that exhausts to the exterior. A recirculating fan with a charcoal filter does not remove combustion gases.
Turn the hood on every time you cook, especially when using high heat or multiple burners.
If your current microwave or hood does not vent outside, consider upgrading to one that does.
We recognize that this information isn’t fun to read, but we believe that informed homeowners are empowered (and often healthier) homeowners. Cooking with gas is popular for many reasons, and simple ventilation habits can make a significant difference in protecting your home’s indoor air quality.
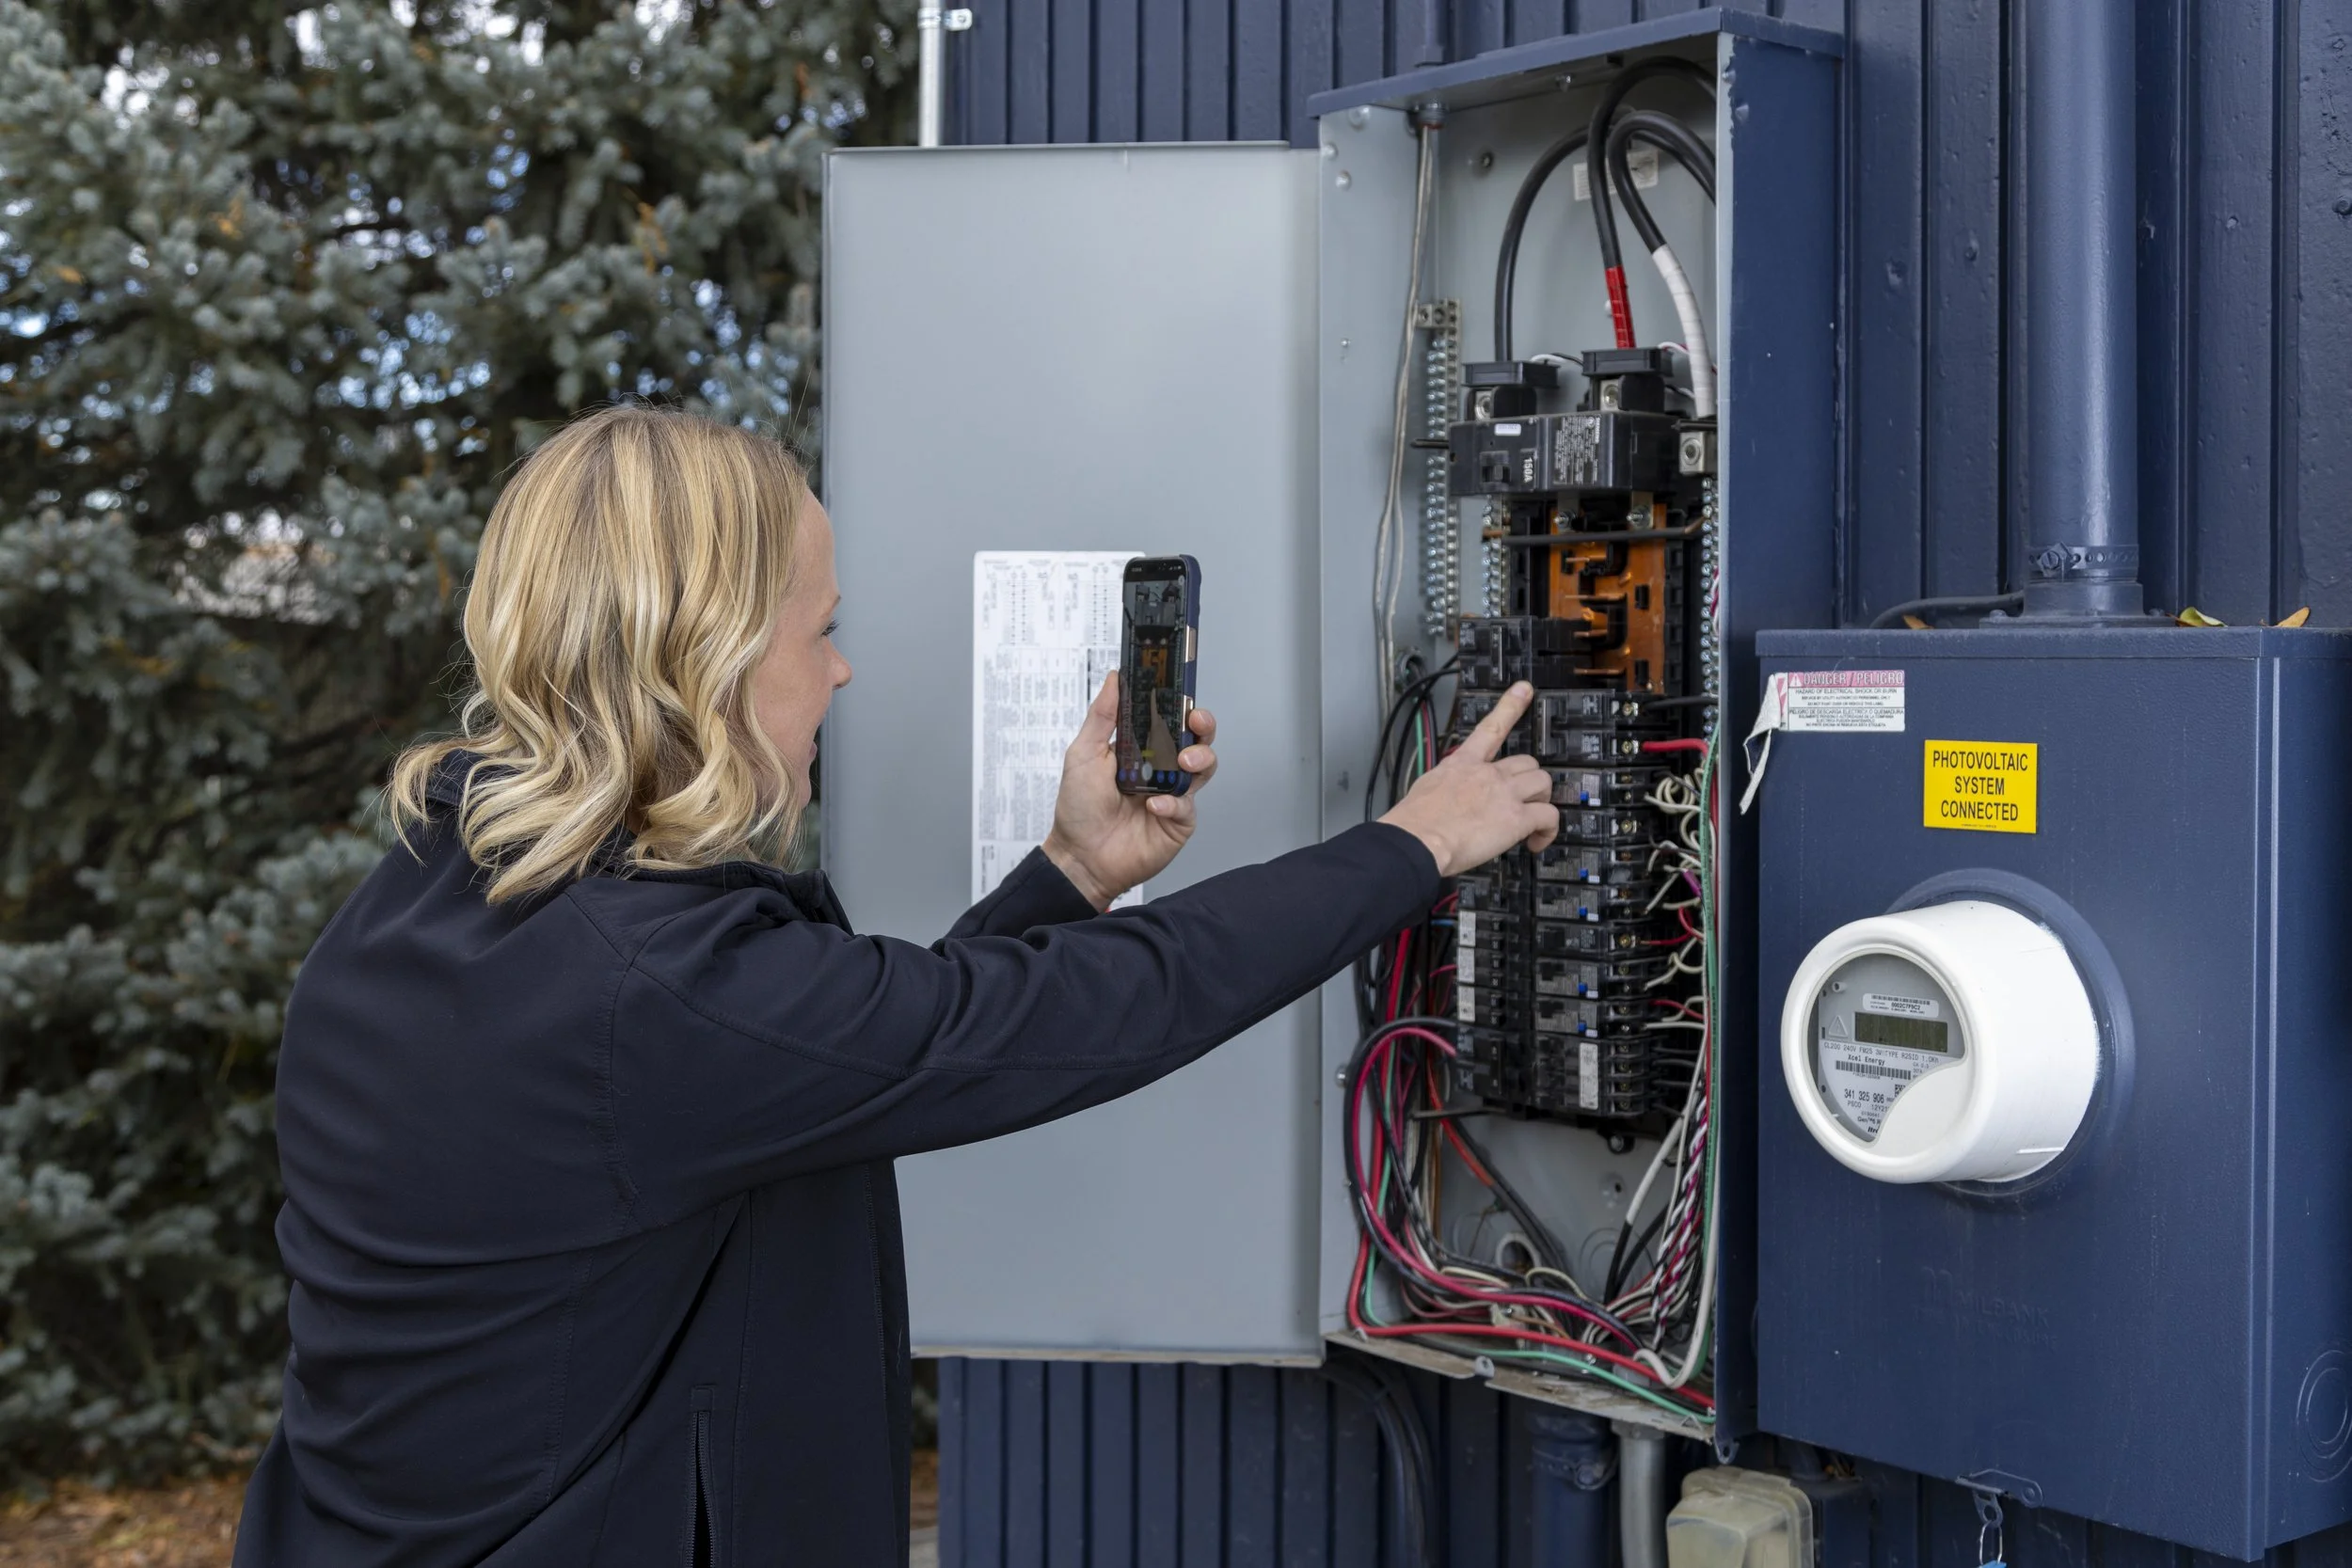
One of the biggest shifts right now in Colorado CRE from a building systems standpoint is that mechanical equipment is no longer just a condition discussion. It is becoming a policy and planning variable during due diligence.
Ultra Low NOx standards are tied to equipment category and input capacity, not building classification. In practical terms, this captures many fan-type furnaces under roughly 175,000 BTU and gas water heaters up to about 2,000,000 BTU, with tighter emissions thresholds applied below 75,000 BTU. Because a large portion of small office, retail and professional buildings use these residential-scale systems, future replacements may involve different equipment availability, revised venting strategies or longer coordination timelines. For brokers, the implication is simple: mechanical sizing and configuration are becoming due diligence variables that influence capital planning and deal certainty, not just maintenance considerations.
What this actually means in a transaction:
• Equipment age matters more than ever. A 15 or 20 year old furnace is not just nearing end of life, it may trigger a different replacement pathway when it fails.
• Mechanical configuration now influences project risk. Closet furnaces, sidewall venting and tight mechanical rooms may limit future equipment choices.
• Replacement timelines can affect tenant coordination, TI planning and lease negotiations if equipment fails mid term.
How brokers can frame this with clients:
• Position it as lifecycle planning, not compliance pressure. Existing systems can remain in service.
• Encourage buyers to understand what equipment type is installed and when replacement is likely rather than focusing only on today’s condition.
• Help clients see inspections as a planning tool that reduces surprises later in ownership, especially for smaller multi tenant properties.
The takeaway is simple. Mechanical systems are becoming part of long term risk strategy, not just a checkbox during inspection. The earlier these conversations happen, the more predictable ownership becomes.
If you want help evaluating mechanical risk on an upcoming deal or portfolio, we are here to help.
Repainting your home's exterior isn't just about curb appeal, it's a key part of protecting your investment. On average, most homes need a fresh coat of paint every 5 to 10 years, but that timeline can vary based on local climate, siding material, and the quality of the last paint job.
Watch for signs it’s time to repaint:
Fading or chalky residue
Cracking, peeling, or blistering paint
Exposed wood or raw siding
Of course, exterior maintenance goes beyond just paint. Regular cleaning, power washing, and timely repairs can extend the life of your paint job and keep your home looking sharp. And when the time comes to repaint, investing in high-quality materials and a skilled professional makes all the difference.
A well-maintained exterior doesn’t just boost value - it helps prevent costly repairs down the line.